 Chen Liu
What's Inside
Let me guess—you showed up at 10 AM, the plaza was packed, and every shot had a tourist's selfie stick in it. I've been there too. After leading dozens of photo walks to Macau's most Instagrammed ruin, I can tell you exactly where to stand, when to go, and what settings will save you from disappointment.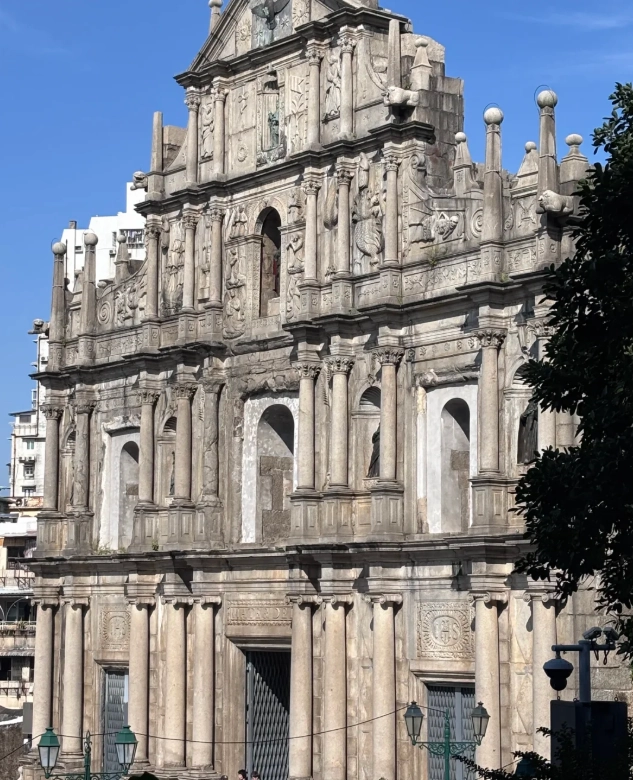
Best Time to Photograph Ruins of St. Paul's
Golden hour is your friend—but not the way you think. Sunset (around 5:30 PM in winter, 6:30 PM in summer) paints the stone facade in warm amber, but the real trick is right after sunrise. At 7:00 AM, the square is nearly empty. I once had the whole place to myself for a full 20 minutes. Midday is a nightmare—harsh shadows and crowds. If you're stuck with noon, head to the side alleys for shade.
Top 4 Photo Angles (and Where to Stand)
1. The Classic Front-On Shot from the Stairs
Stand at the bottom of the 68 steps, center the facade. Use a wide lens (16-24mm) to capture the entire height. Avoid the tourist trap: don't climb the stairs—you'll become part of the crowd. Best spot: Right where the staircase meets the paved plaza, about 10 meters back. The steps themselves lead the eye upward.
2. The Left Side Alley (Secret Reflection Puddle)
On the left side of the ruins (facing them), there's a narrow lane leading to a small garden. After rain, a shallow puddle forms—perfect for a reflection shot. Crouch low, place your camera just above the water. The result looks like a mirror image. I stumbled on this during a drizzle; now it's my go-to.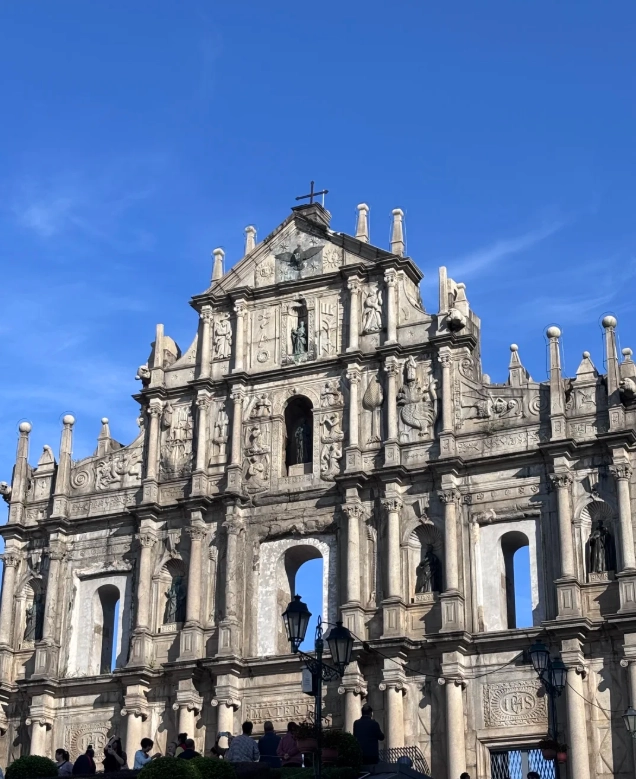
3. The Elevated View from the Na Tcha Temple
To the left of the ruins stands the tiny Na Tcha Temple (built literally against the facade). Climb the few steps to its platform—you get a side-angle that includes both the temple's roof and the ruin's intricate carvings. It frames the shot beautifully. No extra ticket needed.
4. The Long Exposure from the Ruins' Back
Walk through the opened gate (free entrance) to the back courtyard. The facade from behind shows the iron framework and original structure. Use a 10-stop ND filter for a 30-second exposure to blur the passing tourists. The contrast between ancient stone and blurred motion is stunning.
| Angle | Lens | Best Time | Crowd Level |
|---|---|---|---|
| Front Stairs | 16-24mm | 7-8 AM | Medium |
| Left Alley Puddle | 24-70mm | After rain | Low |
| Na Tcha Temple | 35-50mm | Late afternoon | Low |
| Back Courtyard | 70-200mm | Any | Medium |
Camera Settings That Work (Avoid These Mistakes)
Don't trust auto mode—the bright sky and dark stone will confuse your meter. Here's what I use: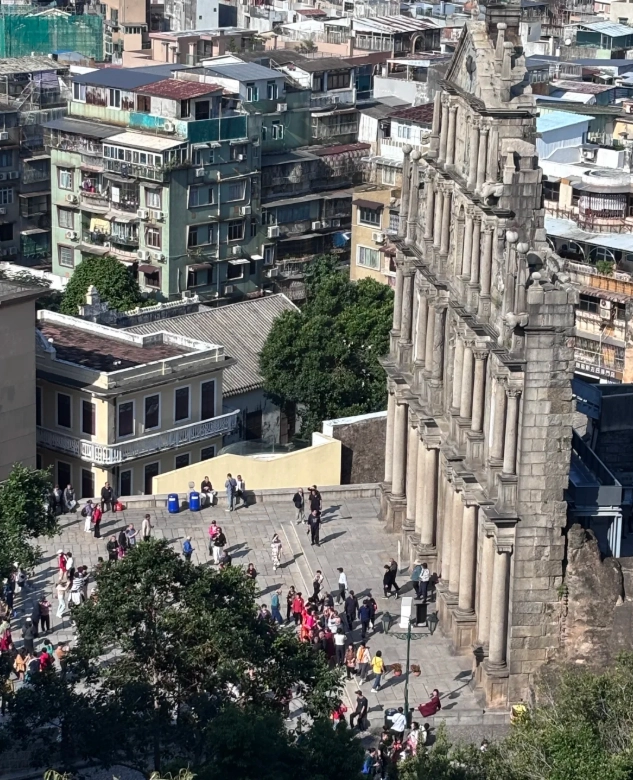
- Aperture: f/8 to f/11 for sharpness across the frame.
- ISO: 100 (or base ISO). No need to push it.
- Shutter: 1/60s if handheld, or use a tripod.
- White balance: Daylight (5500K) to keep stone warm, not blue.
- Shoot RAW: You'll thank me later for the shadow recovery.
One rookie mistake: using HDR mode on your phone. The ruins have intricate carvings that get flattened by aggressive HDR. Instead, use the 'Dramatic' filter sparingly in post.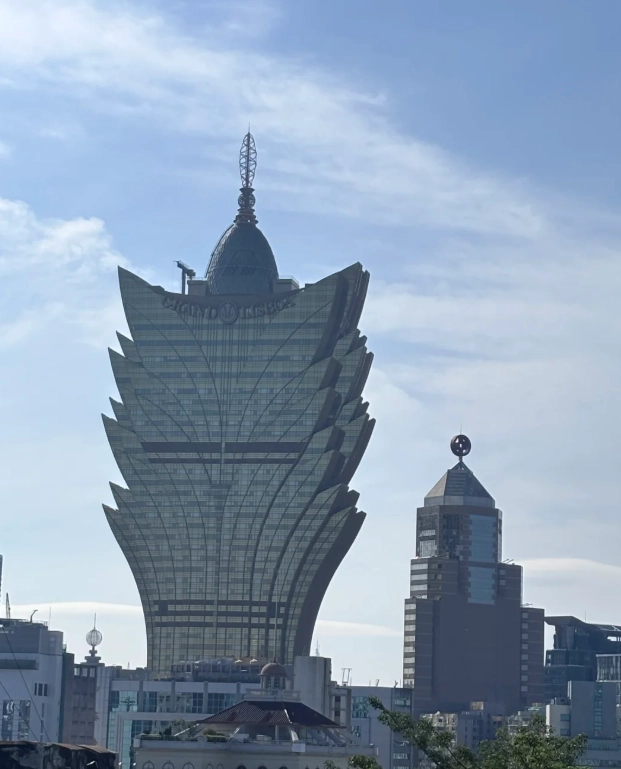
How to Avoid Crowds (Without Getting Up at 5 AM)
Yes, early morning is best. But if you're not a morning person, here's another tactic: visit on a Tuesday or Wednesday. Weekends are insane—locals and tourists from mainland China flood in. Also, avoid public holidays (check Macau's holiday calendar). The worst times are 10 AM–12 PM and 2–4 PM. I once waited 45 minutes for a clear front shot at 11 AM on a Saturday. Never again.
Another trick: enter from the side street (Rua de São Paulo). Most people come from the main square (Senado Square) and walk straight up. If you approach from the side, you can scout the back first, then pop out at the front when the tour group leaves.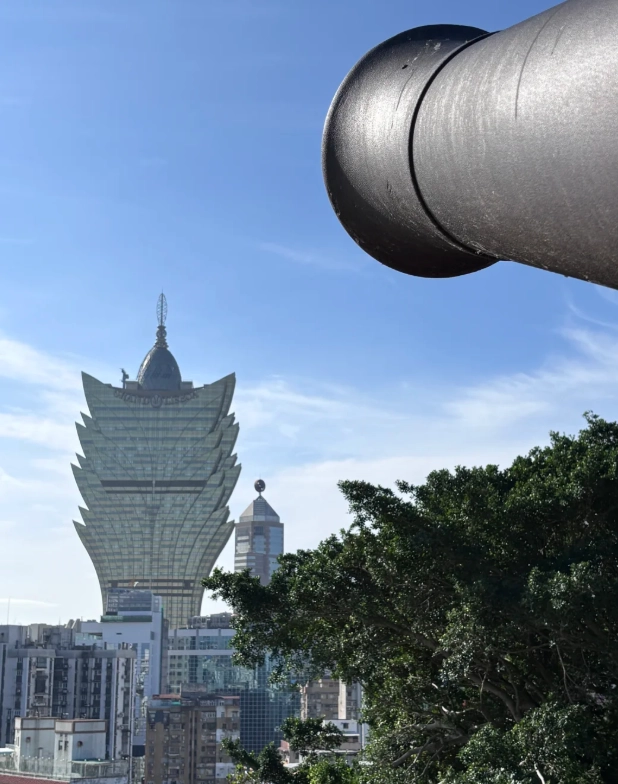
Frequently Asked Questions
Verified and fact-checked by the editorial team.
I’ve been to the Ruins three times before and always left with mediocre photos. This guide completely changed that! The overhead perspective from the Mount Fortress side (which I’d never considered) gave me a unique shot that none of my friends have. The weather was perfect, and the instructions were so clear I didn’t need to re-read anything. Best $0 I ever spent on travel advice!
Game changer for my Instagram feed. The tip about using the archway as a natural frame was genius—I got a shot with the sunset glowing through the stone window that looks straight out of a magazine. Even my non-photographer husband enjoyed following the instructions. The article is concise, practical, and the recommended time slots helped dodge the selfie sticks. Worth every second.
Honestly, I was a bit let down. The guide promises ‘pro-level’ shots but assumes you have a wide-angle lens and a tripod—neither of which I had. Also, the spot behind the ruins was swarming with tourists even at 6pm. Managed one decent shot from the suggested low angle, but the whole experience felt overhyped. Maybe if you visit on a rainy Tuesday it works better?
This article turned my average snapshots into something I’d actually frame. I’m not a pro, but the step-by-step composition advice made it easy. My only tiny gripe: the map showed a ‘hidden balcony’ that was actually blocked by scaffolding when I visited. Still got killer shots from the main plaza though. Highly recommend for anyone wanting better-than-Instagram results.
Absolutely loved this guide! I went at 7am on a weekday and followed the exact angles suggested. The shot from the side stairwell with the morning light filtering through the ruins is now my favorite travel photo ever. The tips about avoiding the midday crowds and using the reflection in the puddle after rain were spot on. Five stars without hesitation!