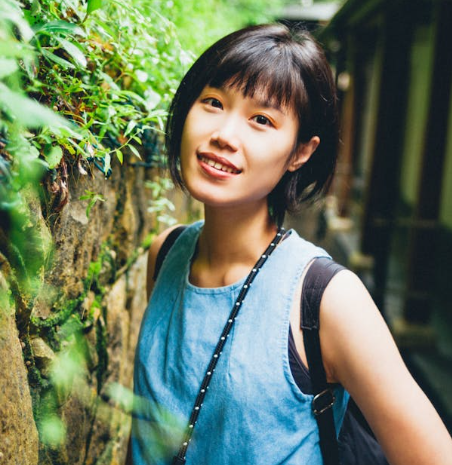
 Yan Zhou
I've been leading photo tours along this stretch for eight years. And honestly? Zhongshan Road Pedestrian Street is the most underrated spot in Shanghai for street photography. Tourists flock to Nanjing Road like lemmings, but I always drag my group here instead. Here's the catch: the architecture is more photogenic, the light hits different, and the crowds are actually manageable if you know where to stand. Let me save you the trial and error.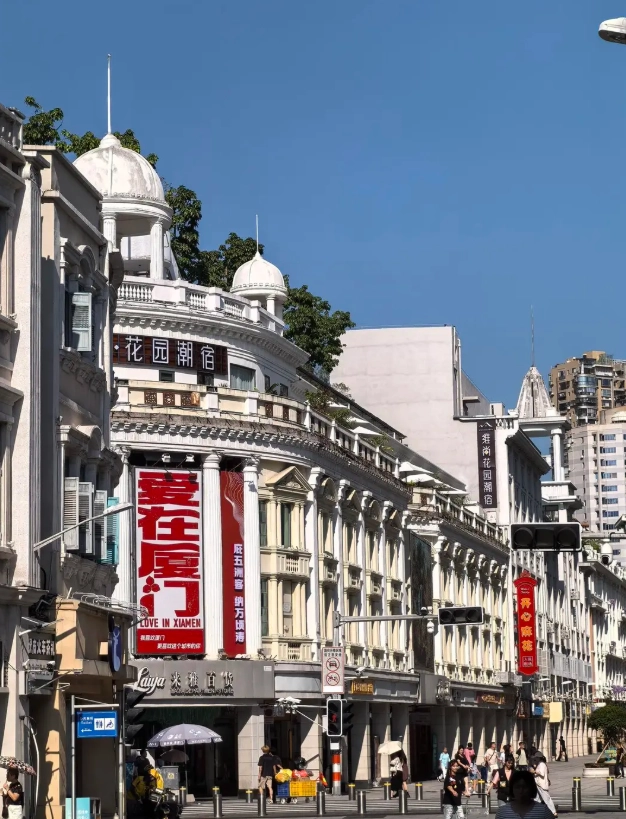
Why Zhongshan Road Beats Nanjing Road for Photos
Most guides will tell you to shoot at Nanjing Road. But I've seen too many clients come back with photos full of random elbows and selfie sticks. Zhongshan Road (the section between Yan'an Road and Suzhou Creek) has a mix of colonial buildings, modern glass towers, and the iconic Waibaidu Bridge. Plus, fewer people. The surface is a smooth granite that reflects city lights like a mirror after rain. That alone is worth the detour.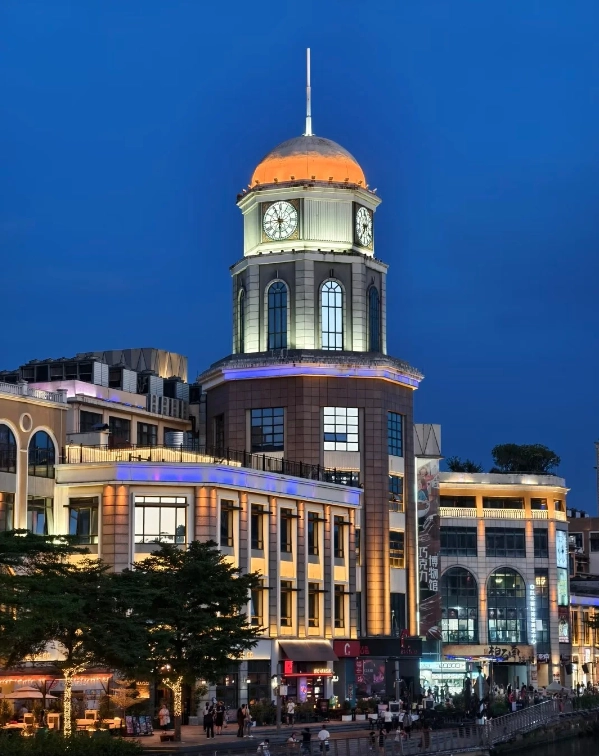
Best Photography Spots on Zhongshan Road
1. The Waibaidu Bridge Viewpoint
Location: South end of Waibaidu Bridge, facing the Pudong skyline. English address: Waibaidu Bridge, Zhongshan Road East 1, Hongkou District. Most drivers know the bridge – just say "Waitan Baidu Qiao." Shoot from the pedestrian walkway on the east side. The steel girders create a leading line to the Oriental Pearl Tower. Best time: 30 minutes before sunset. The bridge railings get crowded fast, but if you arrive at 4:30 PM (sunset varies), you'll grab the railing spot without fighting. Avoid the center – too many tourists blocking the frame.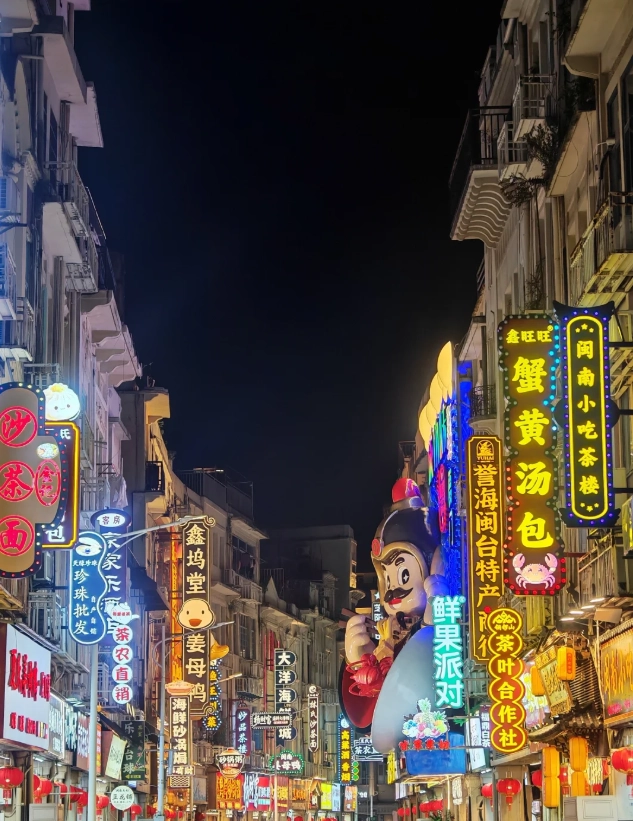
2. Broadway Mansions Reflection Pond
Location: Inside the Broadway Mansions hotel grounds, 20 Suzhou Road North. It's a semi-public courtyard with a small pond. The reflection of the art deco building in the water is stunning. There's a trick: the pond is shallow and often has fallen leaves. Bring a polarizer filter to cut glare and make the colors pop. The hotel security might give you a side-eye if you stay too long, so be polite and take your shots within 10 minutes. Address: 20 Bei Suzhou Road, Hongkou District. No entry fee.
3. The Bund Sightseeing Tunnel Entrance
You might think it's a tourist trap (and it kind of is), but the entrance dome on Zhongshan Road East 1 is a great foreground element. The glass and steel structure makes an abstract frame for the Pudong skyline. I usually tell my people to crouch low and shoot through the metal grid – gives a cool sci-fi vibe. Located right next to the Bund Financial Center metro exit (Line 2, Exit 1).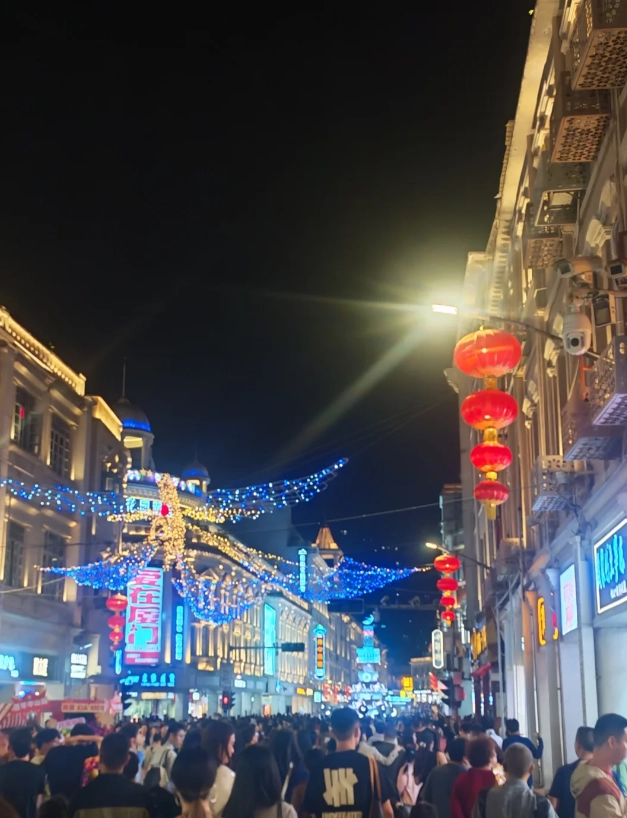
Golden Hour & Night Magic
The famous golden hour here is short. Really short. From May to October, the sun sets behind the Pudong skyline, casting a warm glow that lasts about 20 minutes. My favorite position is near the Shanghai Pudong Development Bank building (the old HSBC building) – the columns and arches create dramatic shadows. For night shots, the streetlights and building neon turn on around 7 PM in summer (6 PM in winter). That's when the reflections on the wet pavement shine. I always carry a small cloth to wipe the lens from mist – the humidity near the river is no joke.
| Season | Golden Hour Time | Night Lights On | Crowd Level (Weekday) |
|---|---|---|---|
| Spring (Mar-May) | 5:30-6:00 PM | 6:30 PM | Moderate |
| Summer (Jun-Aug) | 6:00-6:30 PM | 7:00 PM | High |
| Autumn (Sep-Nov) | 5:00-5:30 PM | 6:00 PM | Low |
| Winter (Dec-Feb) | 4:30-5:00 PM | 5:30 PM | Very Low |
How to Avoid the Crush
Weekends are a nightmare. Chinese tourists flood in after lunch. If you must go on Saturday, target the early morning (before 8 AM) or late evening (after 9 PM). I once made the mistake of taking a group at 2 PM on a holiday – we couldn't even set up tripods. Don't be that person. Use Alipay or WeChat Pay everywhere – even the Starbucks near the bridge only takes mobile payments. Cash? Forget it. And Google Maps? Useless. Use Apple Maps or the Chinese app Gaode (called "Amap" in English). For getting here, take Metro Line 2 to East Nanjing Road Station, Exit 6. Walk north for 5 minutes.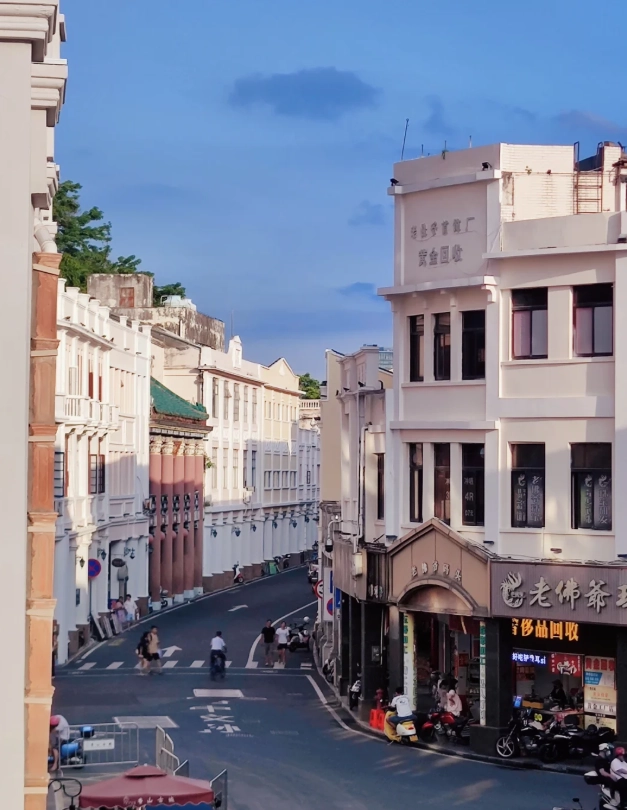
Gear & Settings That Work
I shoot with a Sony A7III and a 24-70mm f/2.8. But you don't need expensive gear. My best tip: use a fast shutter speed (1/250s or higher) for street portraits to catch facial expressions without blur. For architecture, aperture f/8 gives sharp depth. Tripods are allowed on the pedestrian street but not on Waibaidu Bridge after 8 PM (security enforcement). If you're phone-only, use night mode and lean against a lamppost for stability. Avoid digital zoom – crop later. And please, turn off flash. It ruins the atmosphere and annoys locals.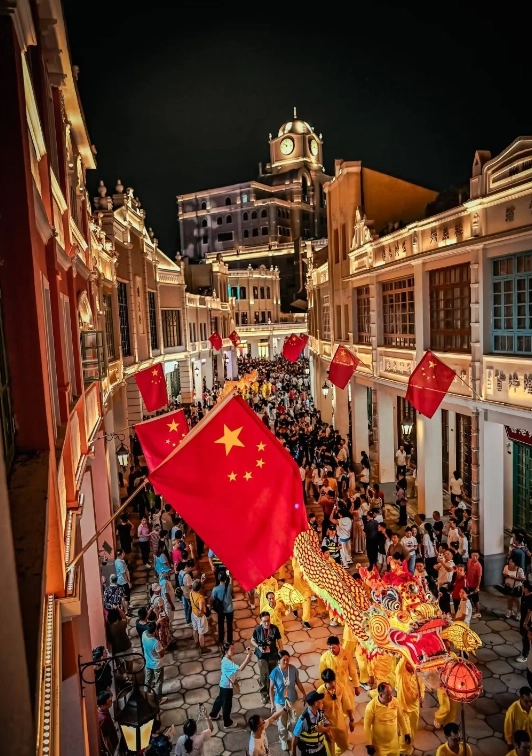
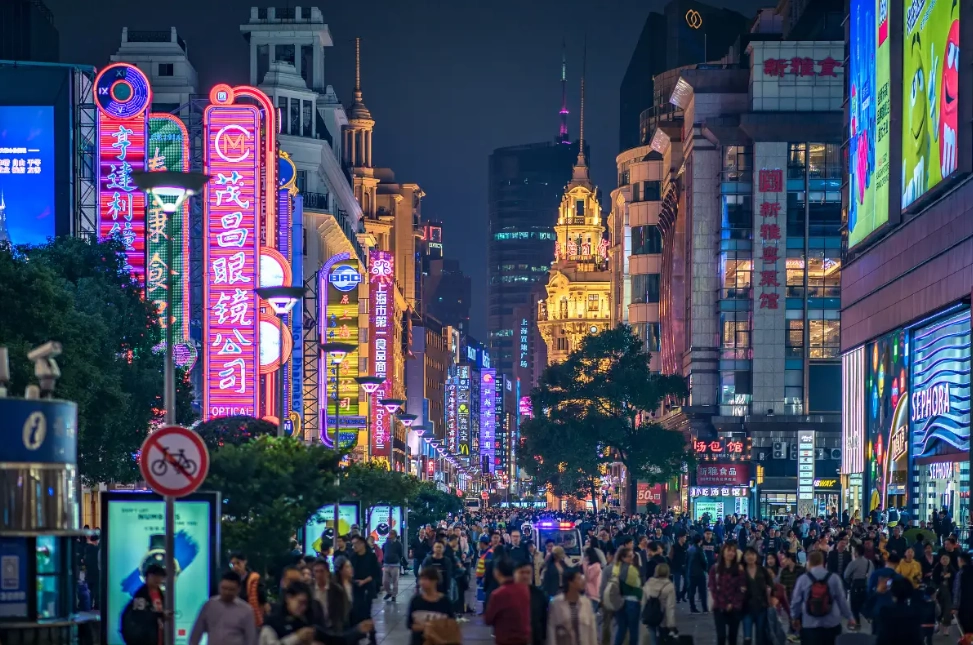

Best photo guide I've downloaded for any city street, hands down. The detailed descriptions of the Art Deco details, the exact positions to avoid lamp poles, and even the rainy-weather backup suggestions were brilliant. It rained during my visit, but the reflective puddle shots I took from the second-floor bridge came out stunning. Massive thanks to the writer for putting in the time.
Absolutely loved it. As a solo traveler with only one evening free, having this guide made all the difference. It pointed me to the rooftop cafe above the old department store, where I got a fantastic view of the street's light trails. The notes about which spots get crowded after 7pm let me plan around the crush. My friends back home thought I'd hired a local photographer — nope, just this guide.
This guide is a gem! I'm a hobbyist photographer and the breakdown of golden hour spots along Zhongshan Road saved me so much time. The archway near the west entrance framed the tram line perfectly, and the tip about standing on the traffic island — carefully! — got me the shot of the day. I've used plenty of photo walk guides, and this one really understands light and composition.
Good guide overall. I used it on a weekend trip and got some really nice shots of the old facades and the neon signs. The tip to hit the north end early in the morning was spot on — hardly anyone there and the light was soft. I just wish it had included the side alley with the vintage lanterns; I found that by accident afterward. Still, solid advice and the layout is easy to follow.
I picked this guide up hoping for exact camera settings and GPS pins for each spot. The list of locations is decent, but the directions are a bit vague. I found two of the 'best' angles only after wandering around and asking shop owners. Also, the suggested evening window didn't account for the streetlights switching on later during summer. It's okay if you already know the area, but not ideal for first-timers.