 Peng Gao
Quick Guide – What You'll Find Here
I've been guiding groups through the Terracotta Army for over seven years. And you know what? Nine out of ten tourists walk away with the same blurry, crowded snapshot. Let me fix that for you.
The problem isn't your camera. It's where you stand and when you click the shutter. Most people rush to the front of Pit 1 at 10 a.m., squeeze between elbows, and snap a photo that looks like a crowded subway car. I'll show you the exact Terracotta Warriors photography spots that even many guides don't know, and the timing that transforms a chaotic scene into a clean, dramatic frame.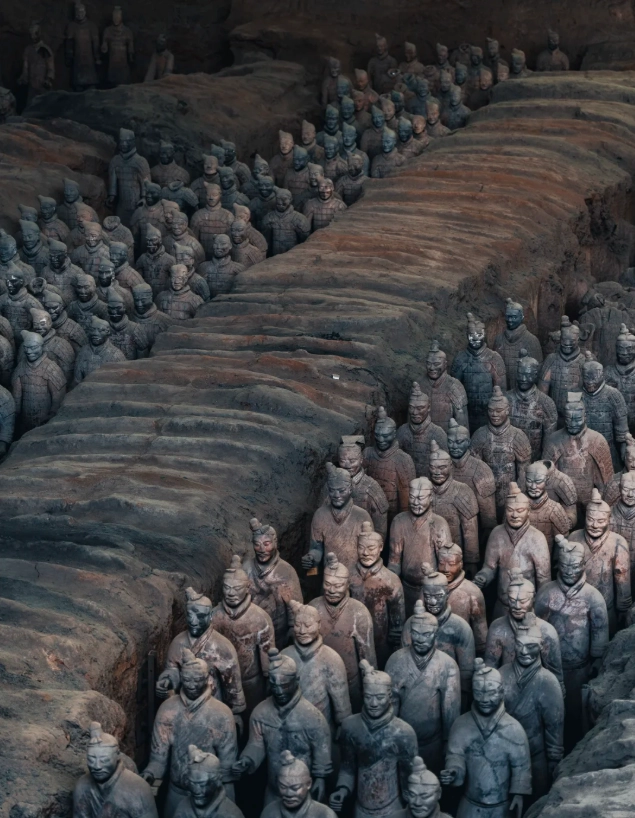
Why Most Photos Fail
Three simple reasons: bad timing, wrong angle, and missing the details.
Bad timing: The museum opens at 8:30. By 9:30, the first wave of tour groups floods Pit 1. The railings are four rows deep. If you arrive at 10, you're already late for clean shots.
Wrong angle: Everyone shoots from the designated viewing platform at the front. That's the most crowded and most boring perspective. The warriors are arranged in battle formation – shooting from the sides gives you a diagonal leading line, which is far more dynamic.
Missing the details: Everyone wants the wide shot. But the most stunning images are often the close-ups – a single warrior's weathered expression, the intricate knots on his armor, or the reflection of a warrior in a puddle after rain. Don't forget your macro lens or a phone with a good portrait mode.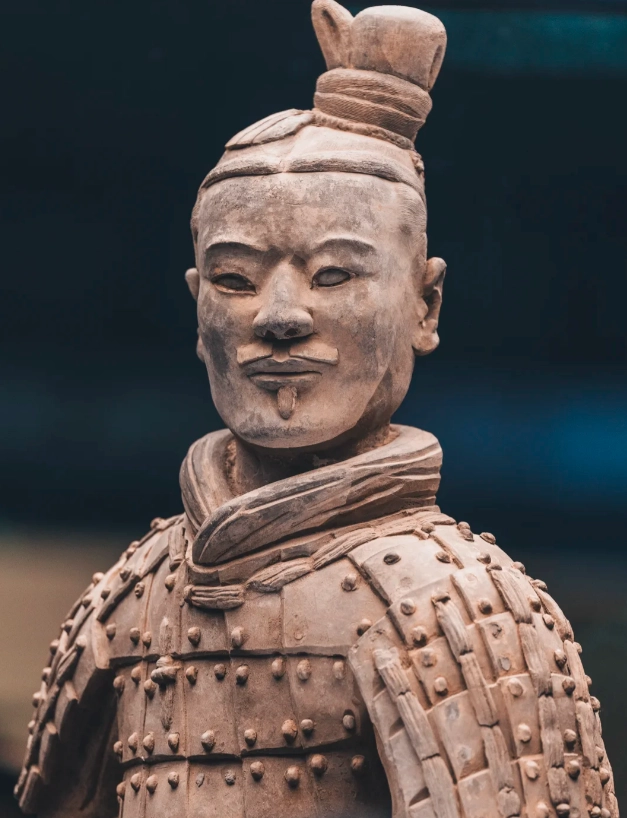
Best Photography Spots in the Mausoleum
There are three excavated pits, but Pit 1 is the star. Here's where I position my clients for killer shots.
Pit 1 – The Main Army
Spot A: The back-left corner (facing the warriors). Most visitors enter, turn right, and stop at the front railing. I go left and walk all the way to the back corner. From here, you see the entire formation diagonally – the warriors stretch into the distance. Use a wide-angle lens (16-24mm) and place your camera low, just above the railing, to eliminate the glass reflection.
Spot B: The middle side railing (east side). This is where the light is best between 2:30 and 4:30 p.m. The skylights above cast a soft, directional light that sculpts the warriors' faces. Wait for a gap in the crowd (they come in waves) and fire a burst.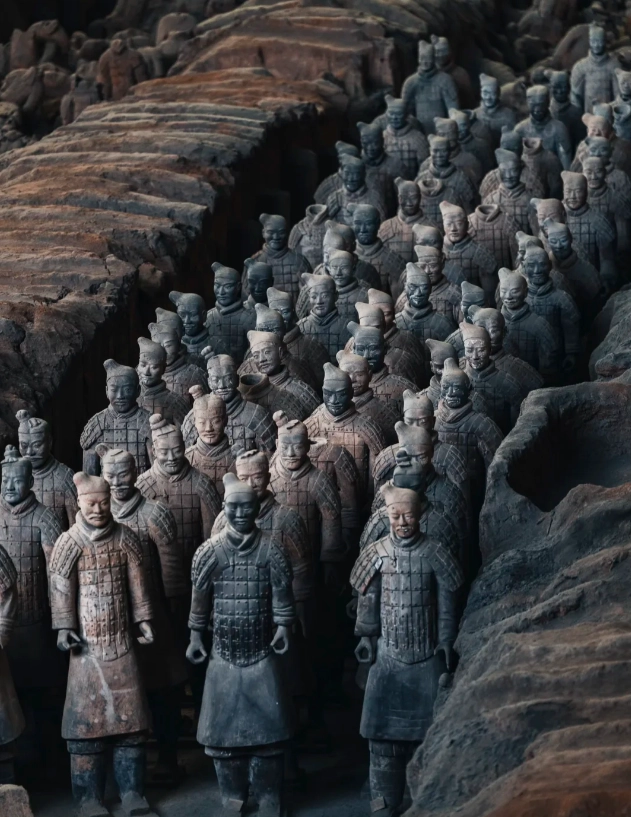
Pit 2 – The Command Post
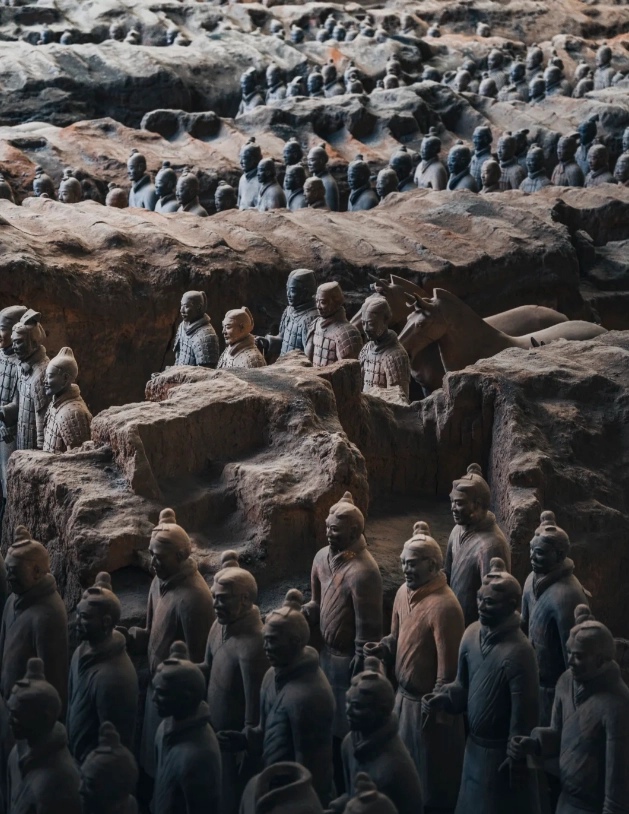
Pit 2 is smaller but holds the cavalry and archers. The viewing platform is closer to the figures, so you can get tighter shots without a telephoto. The best angle is from the far end of the platform, shooting back toward the entrance. You'll capture the horses and kneeling archers in one frame.
Pro tip: Position yourself so a single archer is in the foreground, slightly out of focus, with the rest of the army behind. This creates depth. Use f/2.8 or f/4 to blur the background.
Pit 3 – The Headquarters
This pit is the least crowded. It contains the command chariot and high-ranking officers. Because the viewing glass is very close to the figures, you can get excellent head-and-shoulder portraits. I shoot here when I want detail shots of facial expressions. The lighting is consistent throughout the day – no harsh shadows.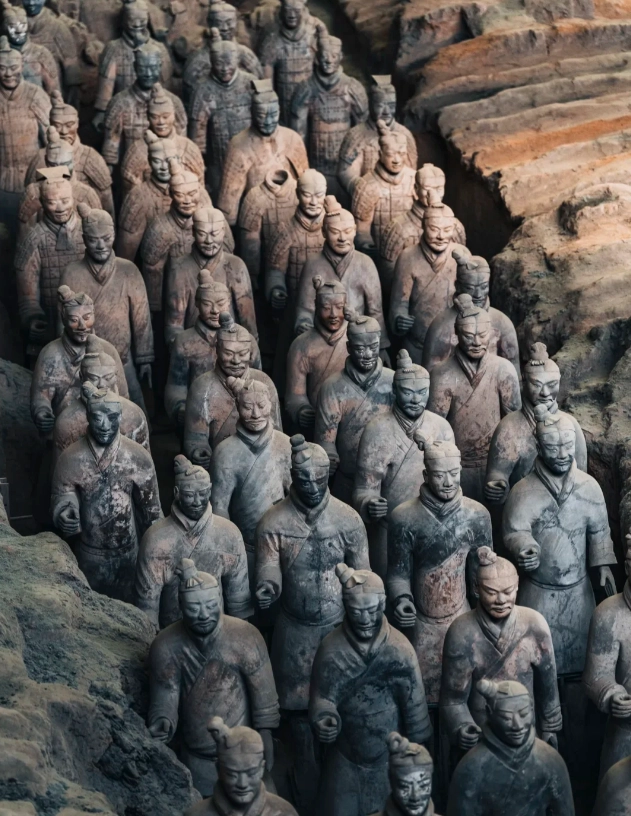
The Museum Exhibition Hall
Most people skip this. But inside the main building (before you exit) there are two restored bronze chariots – half-life-size. They are displayed in a dimly lit room. Use a tripod (yes, it's allowed if you ask security) and shoot at ISO 100, long exposure. The detail on the chariots is incredible.
Time Your Visit Right
Let me be blunt: the golden hour for Terracotta Warriors photography is NOT sunrise or sunset – the museum isn't open. But there are two windows that work.
- 8:30 – 9:15 a.m.: The first entry. You'll have Pit 1 nearly to yourself for about 15 minutes before the tour buses arrive. I always tell my clients: "Be at the gate by 8:15, buy your ticket online in advance, and sprint (well, fast walk) to Pit 1."
- 4:00 – 5:00 p.m.: The last hour before closing (closing time varies by season, check the official site). Crowds thin out dramatically. The light from the western skylights warms up the warriors. This is my personal favorite slot.
Avoid: Any time between 10 a.m. and 2 p.m. It's a zoo. You'll get photos of the backs of heads. Also, avoid Chinese national holidays (Golden Week in October, Labor Day in May, and Spring Festival) – the site is overwhelmed.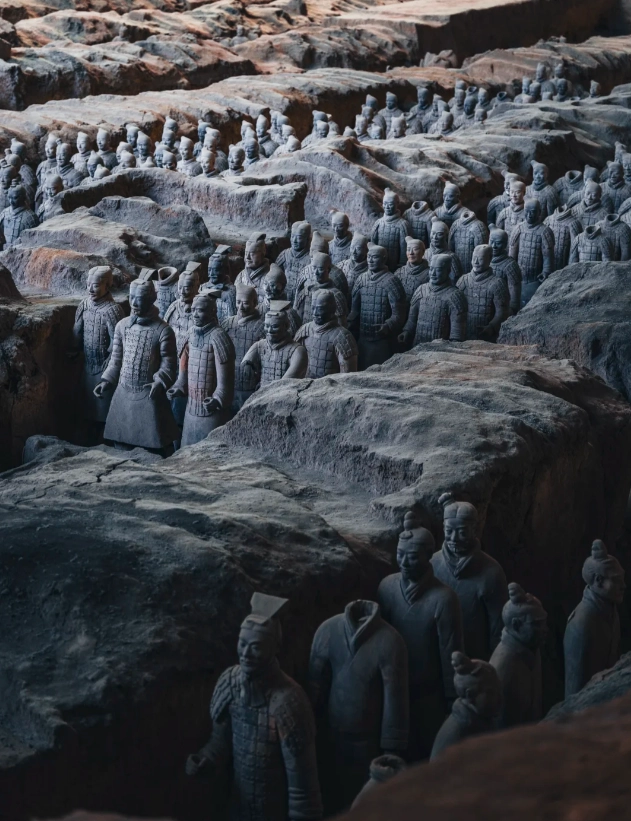
Camera Settings & Gear
You don't need a professional DSLR. A decent smartphone with a wide-angle lens can work if you follow these settings.
| Scenario | Recommended Setting | Why |
|---|---|---|
| Low light (Pit 2 & 3) | ISO 800-1600, f/2.8 or wider, shutter 1/60 | Keep shutter fast enough to avoid blur from hand shake |
| Bright light (Pit 1 with skylight) | ISO 100-200, f/5.6-f/8, shutter 1/250 | Maximizes depth of field, sharp warriors front to back |
| Close-up detail | ISO 400, f/2.8, macro mode or zoom | Blur out distracting background |
| Reflection elimination | Use circular polarizer filter (CPL) | Rotate filter to cut glare from glass & floor |
Gear checklist from my personal bag:
- Wide-angle lens (16-35mm) – essential for Pit 1.
- Telephoto (70-200mm) – for isolating individual warriors from a distance.
- Circular polarizer – cuts glass reflection, brings out the clay colors.
- Mini tripod (gorillapod) – can be wrapped around railings for steady low-angle shots.
- Extra battery – cold weather drains batteries fast.
Practical Info: Tickets, Transport & Extras
Getting there is half the battle. Let me break down the essentials.
How to Get to the Terracotta Warriors from Xi'an City Center
I recommend taking the subway + bus combination: Line 9 to Zhanbei (Terminal) station, then exit from Exit A and catch bus 306 or 915 directly to the site. Total time: about 1 hour, cost: around 15 RMB. Taxi costs about 200-250 RMB (45-60 minutes depending on traffic).
Ticket Prices & Booking
| Category | Price (RMB) | Notes |
|---|---|---|
| Adult (high season Mar-Nov) | 150 | Includes all three pits and the museum |
| Adult (low season Dec-Feb) | 120 | Same access |
| Student (with valid ID) | 75 (high season) / 60 (low season) | Must have international student card |
| Child under 1.2m | Free | Must be accompanied by adult |
| Senior (65+) | Free | Passport required for verification |
Booking: Buy tickets at least one day in advance via the official WeChat mini-program (search 秦始皇兵马俑博物院) or on Trip.com. Walk-up tickets are often sold out by 9:30 a.m. in high season. The WeChat mini-program is entirely in Chinese – a headache even for me. I always tell my clients: ask your hotel front desk to book it for you. Most Xi'an hotels offer this service for free.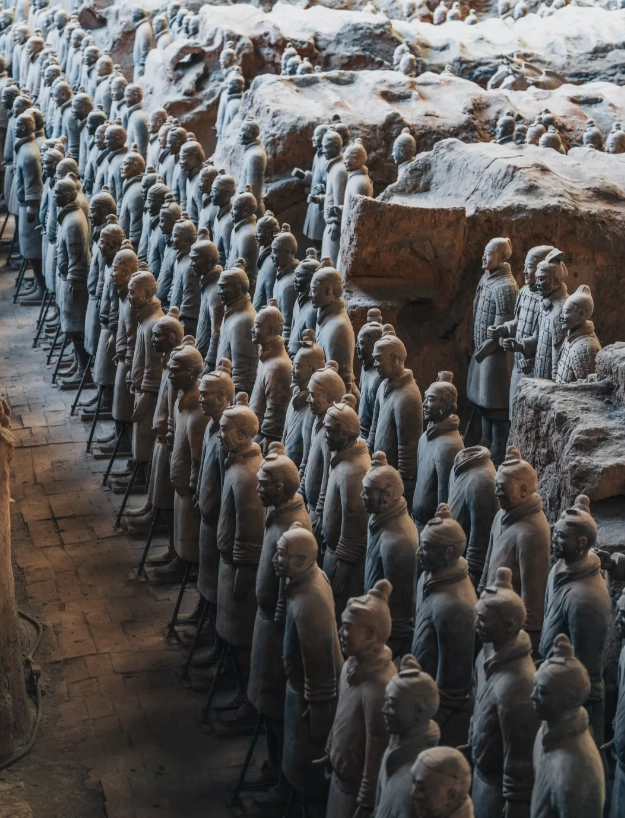
Opening Hours
8:30 – 17:00 (last entry 16:00) from November to February; 8:30 – 18:00 (last entry 17:00) from March to October. The site closes pit access 30 minutes before the gate closes.
Where to Stay for Early Access
If you want to be first in line, stay near the site. There are a few hotels within walking distance:
- Xi'an Terracotta Warrior Inn – basic but clean, 5-minute walk to the entrance. Prices: 150-300 RMB depending on season. No elevator, but they'll help carry bags.
- Hanting Express (Lintong branch) – a 3-minute taxi ride away, about 200-400 RMB. Reliable chain, English-speaking staff at front desk.
Most tourists stay in Xi'an city center (around the Bell Tower or Muslim Quarter) and take a morning taxi – fine if you leave by 7 a.m.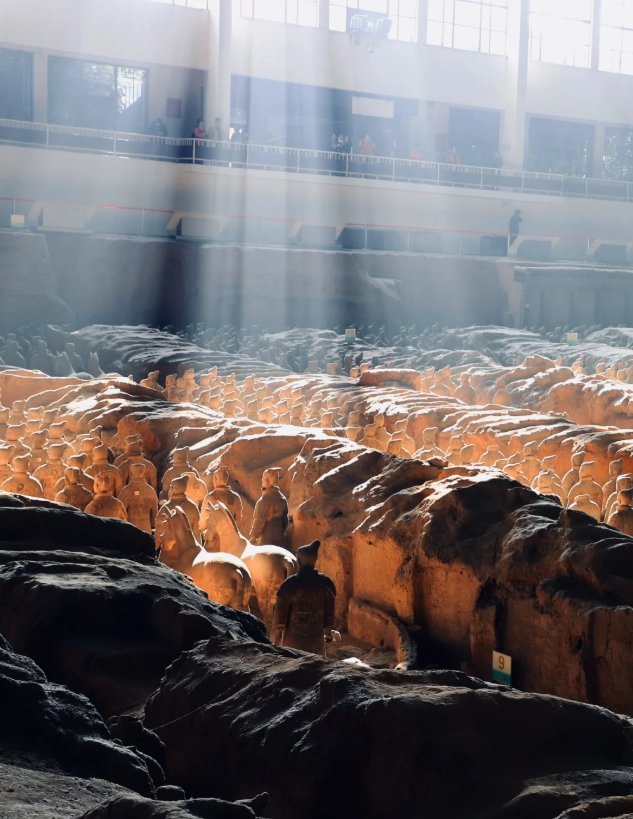
Three weeks in China and this was the highlight. Followed the article's suggestion to visit the gift shop exit corridor—weirdly, it gives a fantastic elevated view of Pit 1's front rows with almost no one around. The 'golden hour' timing was spot on; we stayed until 5 PM and the sunset light hitting the warriors made them look alive. My only regret is not buying a wider lens. Absolutely worth every yuan. Can't imagine doing it without this advice.
This guide saved my entire day. I arrived at 7:15 AM, went straight to the back of Pit 1 as suggested, and had the whole row to myself for 20 minutes. The light was golden, dust particles floating in the air gave a mystical vibe—my photos look like National Geographic spreads. Also used the tip about the outdoor restoration area: got a crisp shot of a kneeling archer being restored through a side window. Couldn't recommend this enough. Five stars, no contest.
Solid list overall—followed the advice to visit Pit 3 first (smallest pit, but the soldiers are incredibly close to the glass). Got amazing detail shots of the facial expressions without any elbows in my way. Pit 2 was a bit chaotic mid-morning, but the corner near the bronze chariots has a nice low-angle spot. I'd give it 4 stars because the map directions in the article were slightly outdated; the new visitor route has changed since last year. Still worth it if you plan ahead.
Honestly, I was a bit disappointed. The article promised 'avoid crowds' but even at 9 AM on a Tuesday, Pit 1 was shoulder-to-shoulder. The 'secret spots' mentioned were either roped off or had other tourists camped out with tripods. I did get a few nice shots from the elevated walkway, but the reflections in the glass made most of my photos unusable. If you're not there right at opening, don't expect miracles. Overhyped for the price of admission.
I went expecting the usual tourist crush, but early morning entry (7:30 AM) made a huge difference. The lighting was soft, and I managed to get clean shots of Pit 1 from the back corners without a single person in frame. Tip: skip the front barrier and walk to the far east side—there's a sweet spot where the warriors line up perfectly with the natural light. Only downside: the new glass barriers create some reflection, so bring a polarizer if you can.
This guide changed my entire photography experience. I followed the suggestion to go on a Tuesday in shoulder season and there were maybe 50 people total in the whole museum. I used the 'low angle from the back railing' trick for Pit 3 and it looks like I shot in an empty hall. The warriors feel so much more dramatic without a sea of selfie sticks. If you're serious about photos, this is the only way to do it. Absolute gold.
Solid advice overall, though I'd add that the west side of Pit 1 has better natural light in the afternoon. The article mentioned going early, which I did, but I found the real sweet spot was around 3 PM when the sun hit the warriors from a side angle. The crowd was still moderate (maybe a 6/10), but I managed to get some clean shots by waiting patiently. A few more specific coordinates would have made it perfect.
Best photo tip I got from this guide: use a polarizing filter on the glass cases in Pit 1. It cut out 90% of the glare and made the warriors pop. I camped out near the exit side of the long corridor, and the crowd thinned out around 11:30 AM when the tour groups shifted. Got some absolutely stunning close-ups. My Instagram blew up. Five stars from me!
Honestly, I was a bit disappointed. The article promised 'secret spots' but half of them were blocked off by ropes or had terrible reflections from the glass. I tried the suggested corner in Pit 2 but there was still a bunch of people elbowing for space. Maybe on a weekday in winter it's better, but on a Saturday in June? Not so much. The photos came out okay with some editing, but not the magic I expected.
I went at 7:30 AM right when the gates opened and had the whole pit almost to myself for the first 20 minutes. The lighting was soft and golden, perfect for getting those museum-quality shots without a single stranger in the frame. Pro tip: skip the main entrance and head straight to Pit 3 first—it's smaller but the angles are killer. Totally worth the early alarm!